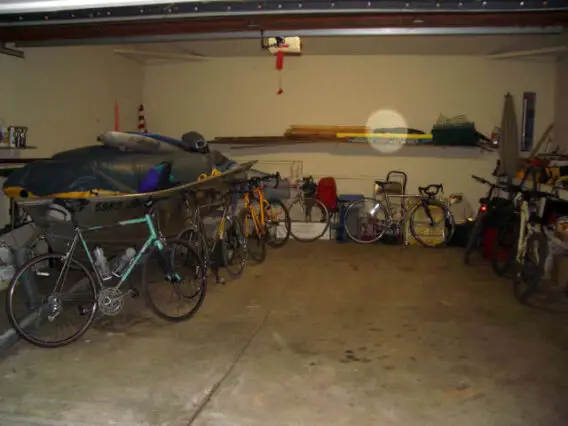
 Bike hoists are a great storage solution to free up floor space in your garage or apartment.
- Maybe there are several members of your family with bikes.
- Or, perhaps you have a couple of different bikes yourself, but you don’t need access to each of them all the time.
- Maybe you use one bike during a specific time of year and the other at a different time of year.
- As a triathlete, perhaps you started with a traditional road bike, but now you spend most of your time on your new triathlon bike.
- Or, maybe you’ve got one or more bikes, but you’re not actively cycling these days — due to health issues or any other number of reasons.
Whatever the scenario, a bike hoist can make your life with bikes even life easier.
It not only helps you keep your things tidier and more organized, it also prevents your bicycles from falling over and getting damaged.
If you’re considering a bike hoist as your bike storage solution, here’s what to look for plus how to install it…
Bike Hoists: What To Look For
A bike hoist is basically just a pair of ceiling mounts with hooks that can be raised or lowered with a rope and pulleys.
The hooks grab your bike by the seat and handle bars so that you can lift it off the floor by pulling the rope.
You then secure the rope around a pair of cleats that are mounted on a convenient wall.
Since the last thing you want to hear in the middle of the night is your bike crashing down onto your car, here are a few buying tips:
- Make sure the ceiling mounts are solid-steel and not plastic. Plastic can soften in a hot garage and tear away from the mounting screws over time.
- Look for a sturdy nylon rope. Make sure it’s not frayed before you install it. If you find a good deal on a bike hoist with a questionable rope, you can always purchase your own rope and substitute it. Always replace the rope if it begins to fray.
- Make sure the hooks have a rubber coating to protect your bicycle from scratches.
How To Install A Bike Hoist
Like other ceiling-mounted products, a bike hoist requires some careful planning and measuring to install.
Once that’s done, you can install it in just a few minutes.
Here are some tips for making sure you get it right the first time:
- If your ceiling is covered with drywall or some other material, use a stud finder to make sure you attach the mounts to a joist. If necessary, use longer screws than those that came with the bike hoist.
- You can hang multiple bikes closer in parallel if you install the mounts in a slightly staggered fashion.
- Install the mounts so that the bike hangs with its back tire toward the pull-rope. That way, it won’t get tangled in the handlebars. Remember that the hooks are made for the bike to face in only one direction.
- You must customize a bike hoist for each bike. Carefully measure the distance between the back of the seat and the handlebars’ crossbar. Make sure the hook separation matches that distance.
- If you want more vertical clearance after installation, try attaching the hooks to a secure location lower down on the bike.
Once your new bike hoist is installed, getting your bike out will be as easy as lowering a window shade!
This is the same thing we do with our Jeep’s hard top: we use a Jeep hoist.
More About Bike Hoists
Options For Storing Bikes In Small Spaces
How To Hang A Bike: Wall vs Ceiling

I represent the non-competitive cyclists, runners, and swimmers of the group. I mostly write about all the ways that biking, jogging, and swimming are fun when you're not a serious athlete.